Uncategorized
How Long Do A Sew In Last ?
Sep
Sew-in extensions have become a popular choice for achieving a variety of hairstyles, from long and voluminous locks to creative colors and textures. As you embark on your journey of enhancing your hair with sew-in extensions, a common question arises: how long can you expect your sew-in to last? This article will help you explore the aspects of your sew-in, how long it will last, how to maintain your hairstyles long-term appeal and ensure the natural health of your hair.
What is closure weave sew in?
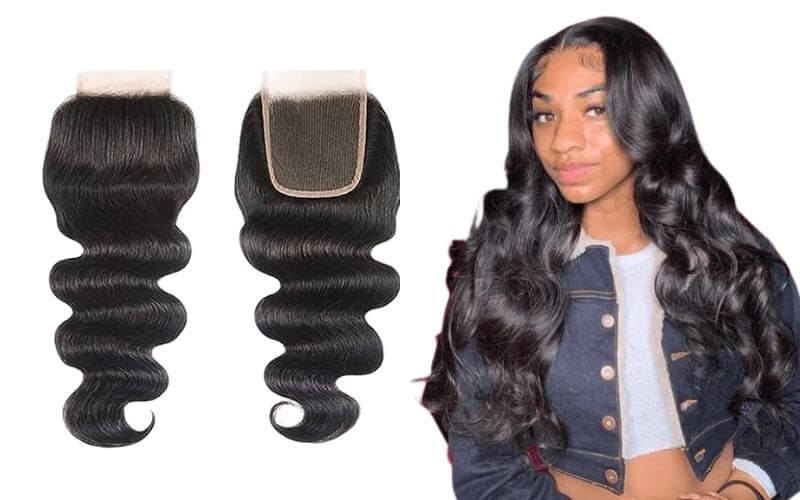
A closure weave sew-in, also known as a full sew-in, involves a foundational process where your natural hair is braided into cornrows. These cornrows serve as the base onto which weave hair extensions are securely sewn. Additionally, a hair closure is sewn down as a part of this process. The closure, made from lace or silk material, is positioned in your desired part—whether it’s on the side or in the middle—creating a realistic scalp appearance. By meticulously sewing the closure and weave onto the cornrows, a seamless and natural effect is achieved. This technique not only offers versatility in styling but also safeguards your natural hair, making it a popular choice for those seeking both a stunning appearance and hair protection.
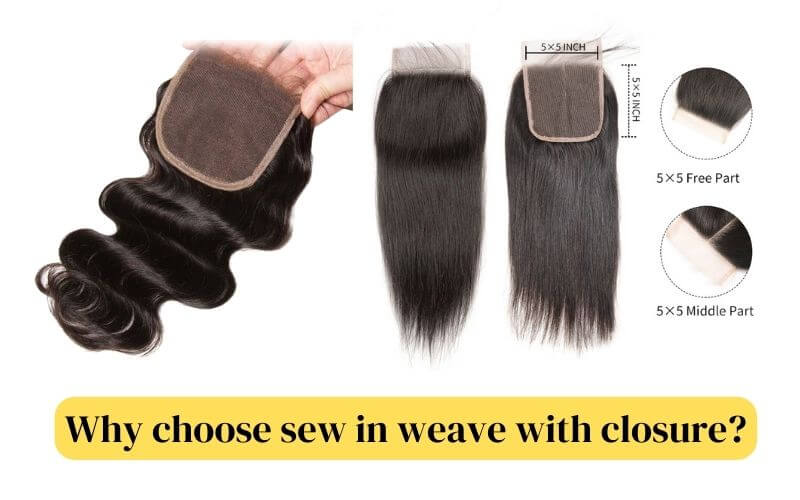
Why choose sew in weave with closure?
A sew-in weave with closure offers several advantages that make it a preferred option for many individuals seeking versatile and protective hairstyles.
- Natural Appearance: The closure mimics a real scalp, providing a natural-looking parting and seamless integration.
- Styling Flexibility: Versatile styling options allow you to experiment with various hairstyles without exposing extensions.
- Hair Protection: Braiding your natural hair minimizes damage from heat and manipulation, promoting healthier growth.
- Instant Length and Volume: Weave extensions offer immediate length and volume, perfect for achieving desired looks.
- Low Maintenance: Once installed, a sew-in weave with closure requires minimal daily maintenance. You can focus on gentle care routines and styling without the need for excessive styling products.
How to Put On Sew-In Extensions?
Putting on sew-in extensions involves a step-by-step process that requires some skill and patience. Let’s break down the process step by step:
- Preparation:
Wash and condition your natural hair to ensure it’s clean and well-moisturized.
Decide on the type of extensions you want (weave, closure, etc.) and gather all the necessary materials: hair extensions, closure, weaving thread, weaving needle, comb, hair clips, and scissors.
- Braiding Your Natural Hair:

Section your hair into neat parts. The number of parts will depend on the thickness of your natural hair and the desired final look.
Start braiding your natural hair into small, tight cornrows close to your scalp. These cornrows will act as the foundation for attaching the extensions.
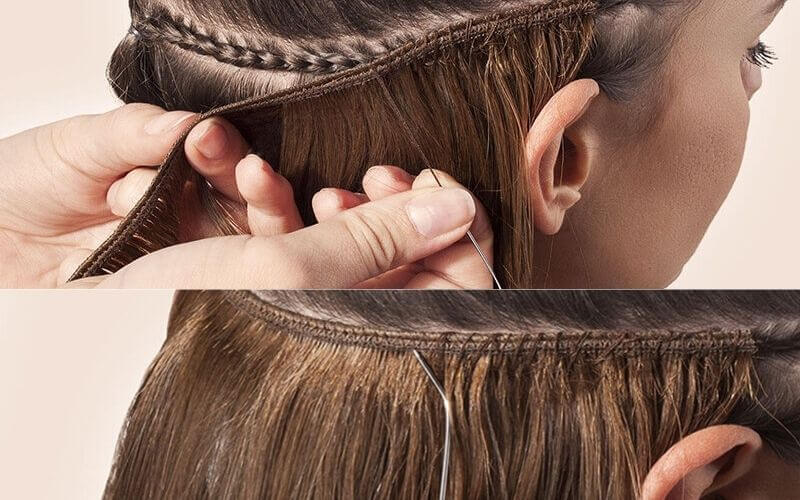
- Attaching the Extensions:
Thread the weaving needle with the weaving thread, tying a knot at the end.
Secure the end of the wefted hair extension to the first cornrow using a stitch or two, ensuring it’s positioned close to the scalp.
Use the weaving needle to sew the wefted extension along the length of the cornrow, using a continuous stitching motion. Make sure the stitches are tight and even to prevent the extension from coming loose.
- Closing the Weave with a Closure:
Position the closure on the desired part of your head (middle, side, etc.).
Sew the closure onto the braided foundation using the same weaving thread and needle. Make sure it lays flat and secure.
- Repeat the Process:
Continue attaching the extensions and sewing them down row by row until you’ve covered all the cornrows on your head.
Be sure to follow a consistent pattern to achieve a natural and even look.
- Styling and Blending:
Once all the extensions are sewn in, style your hair as desired. You can curl, straighten, or braid the extensions to match your preferred look.
- Maintenance:
Sleep with a silk or satin scarf or bonnet to protect your sew-in and natural hair.
Ensure the stability of your extensions by refraining from excessive pulling or tugging.
It’s important to note that while sew-in extensions can be done at home, achieving a professional and seamless result might require some practice. If you’re unsure or new to the process, it’s recommended to seek help from a professional hairstylist who specializes in sew-in techniques. They can ensure that the extensions are attached securely and the overall outcome looks polished and natural.
How long does a closure sew in last ?
A closure sew-in typically lasts around 4 to 8 weeks, influenced by factors like installation quality, hair type, care, and natural hair growth. Professional installation and proper care can extend its lifespan, while growth and personal comfort determine when to remove it.
-
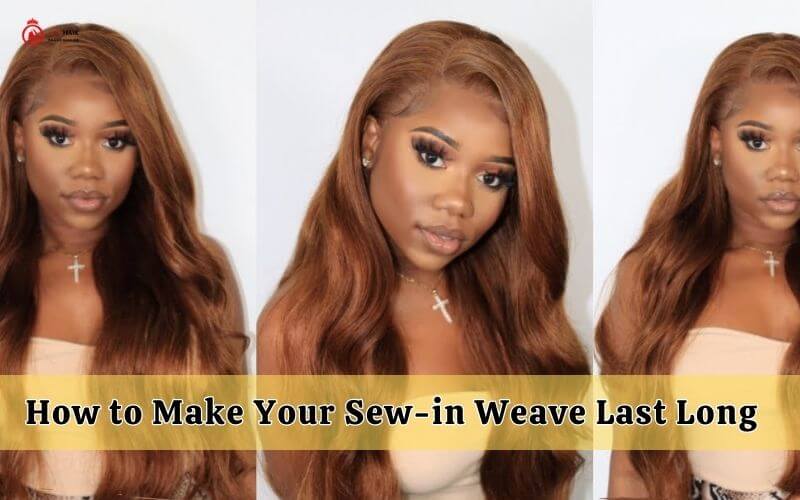
How to Make Your Sew-in Weave Last Long
Extending the lifespan of your sew-in weave requires proper care and attention. By following below steps and applying a gentle and mindful approach to your sew-in weave, you can maximize its lifespan and enjoy a beautiful and well-maintained hairstyle for an extended period.
- Professional Installation: Have it done by a skilled stylist for secure attachment.
- Quality Hair: Invest in good-quality hair extensions for durability.
- Gentle Care: Handle with care to avoid pulling or tugging.
- Regular Cleaning: Wash your scalp and weave gently.
- Minimal Heat: Limit heat styling and use protectants.
- Bedtime Protection: Sleep with a satin scarf or bonnet.
- Detangle: Gently detangle to prevent tangling.
- Protective Styles: Choose low-manipulation hairstyles.
- Regular Check-ins: Visit your stylist for maintenance checks.
- Know When to Remove: Address discomfort or looseness promptly.
8 Trending hair bundles and closure sew in hairstyles
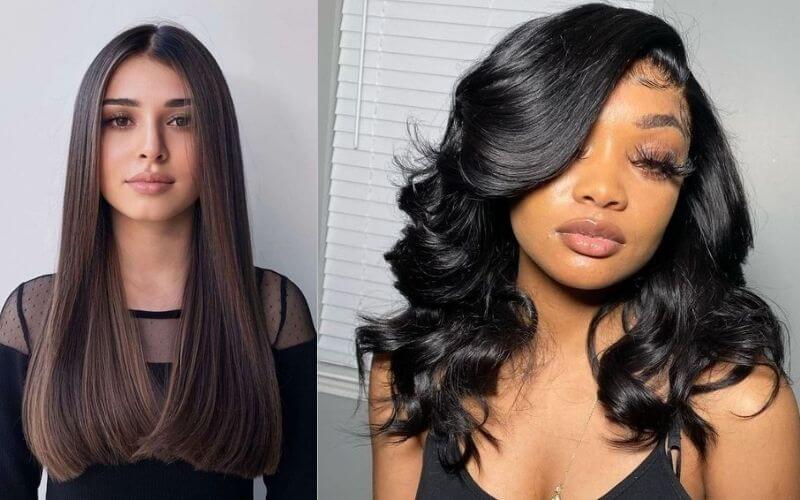
- Sleek and Straight: Achieve a timeless and elegant look with smooth, straight hair bundles. The closure sew-in ensures a flawless part, enhancing the sleekness of the style.
- Sew-In with Closure Side Part: Embrace a chic and sophisticated appearance with a side-parted closure sew-in. The closure creates a seamless blend and the side part adds a touch of asymmetry.
- Middle Part Closure Sew-In: Create a balanced and symmetrical look with a middle part closure sew-in. The closure adds to the natural parting, making the hairstyle appear effortlessly balanced.
- High Ponytail: Elevate your style by rocking a high ponytail with your hair bundles. The closure sew-in ensures a seamless transition from your natural hair to the extensions.
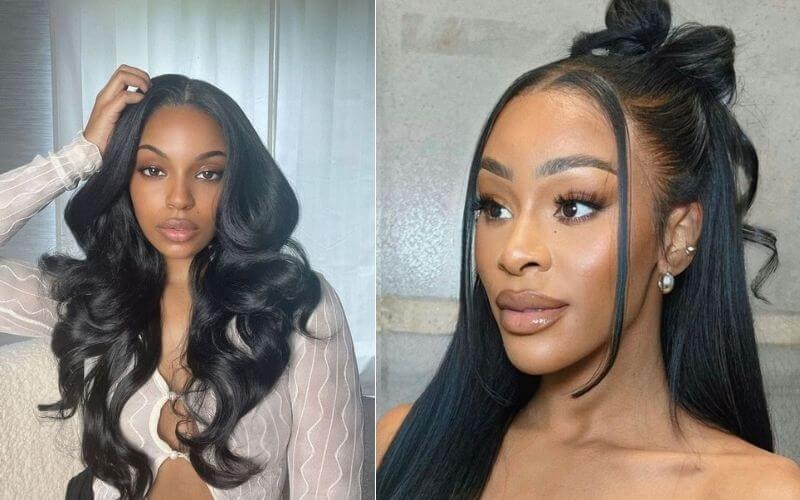
- Half-Up, Half-Down: Combine versatility and elegance with a half-up, half-down hairstyle. The closure sew-in allows for a well-defined part, enhancing the overall aesthetic.
- Layered and Textured: Add depth and dimension to your look with layered and textured hair bundles. The closure sew-in ensures a natural part while the layers bring movement to your hairstyle.
- Colored Creativity: Express your individuality with colored hair bundles. Whether it’s subtle highlights or vibrant hues, the closure sew-in complements the look with a realistic part.
- Long and Flowing: Flaunt luxurious length with long hair bundles. The closure sew-in enables you to wear your hair down while maintaining a seamless part for a natural appearance.
FAQs – How long do a closure sew in last
Are Sew-Ins High Maintenance?
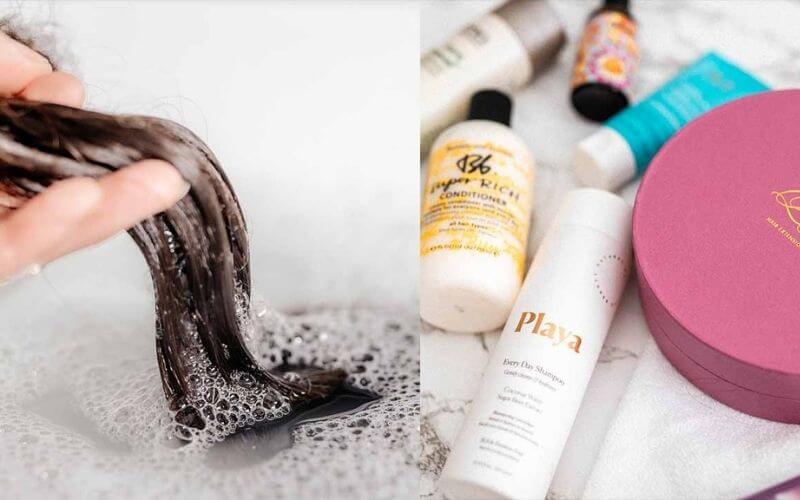
Sew-ins can vary in maintenance level. While they provide a longer-lasting hairstyle, they do require some care. Regular cleansing, proper drying, and avoiding excessive tension are key to maintaining your sew-in’s appearance and the health of your natural hair.
Do Sew-Ins Hurt Your hair?
When done correctly and not left in for excessive periods, sew-ins should not hurt your hair. However, improper installation, tight braids, or neglecting your natural hair underneath can lead to discomfort and even hair damage. Proper installation and gentle care are essential to prevent any harm.
How to Know When Your Sew-In Needs Removal
Several signs indicate it’s time to remove your sew-in. These include discomfort, itchiness, an unnatural appearance, matting, and excessive shedding. Monitoring your scalp’s health and the condition of your hair can guide you on when to safely take out your sew-in.
What Occurs When You Keep a Sew-In Too Long?
Leaving a sew-in in for too long can lead to several issues. Your natural hair can become stressed, leading to breakage and hair loss. Your scalp might become irritated or develop conditions like traction alopecia. Proper timing for removal is crucial to maintaining the health of your hair and scalp.