Uncategorized
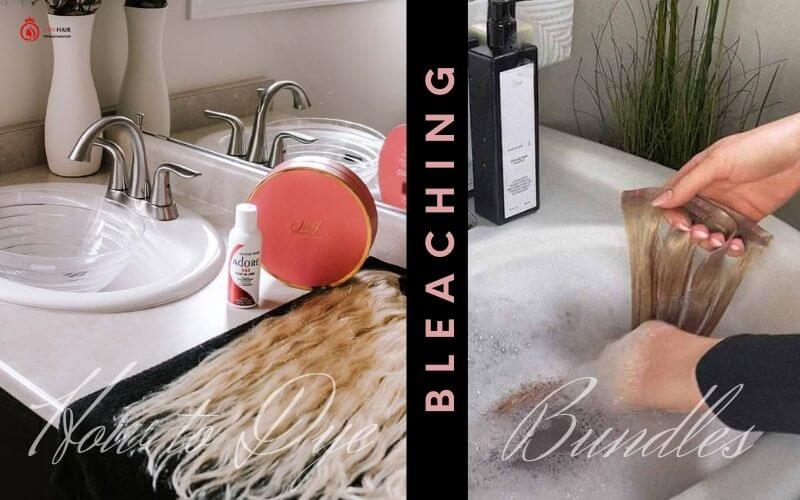
Unleash Your Inner Artist: How to dye bundles?
Aug
Hey there! Are you ready to unleash your creativity and transform your hair game? If you’re looking for a fun and easy way to switch up your hair color, then dyeing your own hair bundles is a great place to start.
In this blog post, I will share some tips and tricks on how to dye bundles at home. I know it can be intimidating to do it yourself but trust me, it’s not as hard as it seems.
Whether you’re looking to add a subtle ombre effect or go all out with bold and vibrant colours, LynHair will guide you through the process step-by-step so that you can achieve your dream hair colour.
So, grab your gloves and let’s get started!
TIPS TO DYE
- Hair Type
When it comes to choosing the perfect artificial hair bundle to dye, there are two main options available. The first is synthetic hair, which boasts advanced technology and is crafted from artificial fibres. While the composition of synthetic hair differs from natural hair, the incorporation of polymers and artificial fibres ensures that it appears strikingly natural.
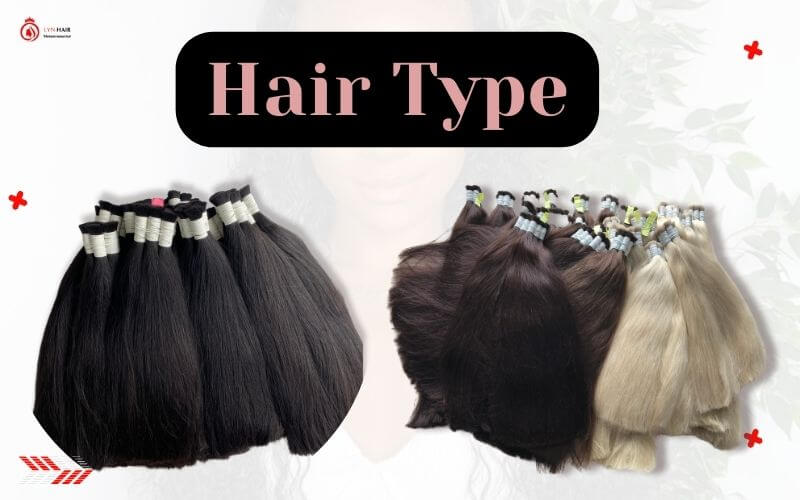
However, synthetic hair bundles are not recommended for dyeing. This is due to the ammonia or bleach present in the dye, which can damage and weaken the fibres of the bundle.
Alternatively, human hair bundles are an excellent option to consider. Composed of keratin, the same protein that makes up natural hair, human hair bundles boast soft, lustrous characteristics that make them the best option to dye. Additionally, since human hair is naturally stronger and more durable than synthetic hair, human hair bundles tend to have a longer lifespan.
Overall, when selecting an artificial hair bundle to dye, it is important to choose wisely and consider the type of hair that will best suit your needs.
- Hair Colour
To ensure your hair bundles retain their healthy shine and texture, it’s crucial to avoid shocking them with a drastic colour change. Opt for shades that closely match your natural hair tone, minimizing the risk of breakage, damage, and dryness post-dyeing.
For instance, when working with dark hair bundles, choose darker shades instead of warmer hues like red. Highlighting or bleaching hair bundles should be entrusted to professionals at a salon to ensure the best possible care for your precious locks.
-
Tools
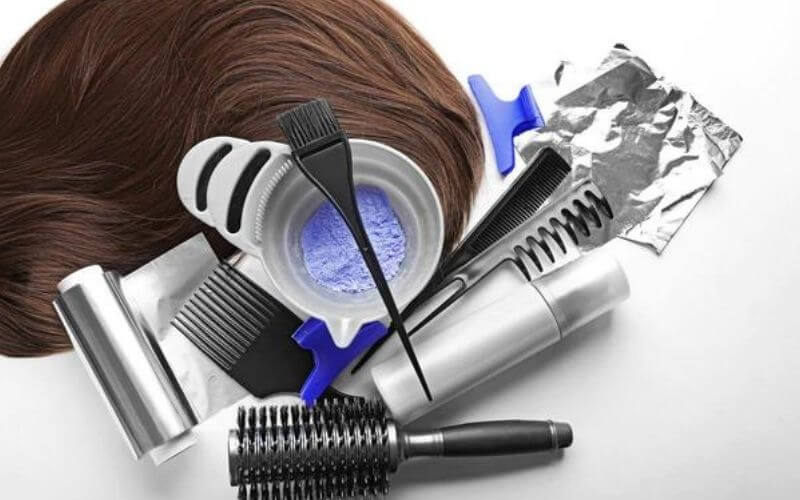
Achieving stunning hair colour that lasts requires the use of quality supplies procured from trusted sources. When it comes to dyeing hair bundles, it’s essential to avoid picking any random hair dye off the drugstore display racks, unless they offer salon-grade products. Using subpar dyes and developers can cause significant damage to your precious bundles.
To ensure a successful dyeing process, it’s crucial to have all the necessary supplies within reach. To that end, you should prepare the following items before commencing:
- You may consider using a set of latex gloves as a protective measure for your hands.
- Quality hair dye that suits your hair type and desired colour.
- The appropriate developer to mix with the hair dye.
- A comb to help distribute the dye evenly throughout the bundle.
- You will need a mixing bowl to combine the dye and the developer.
By taking the time to gather quality supplies and preparing adequately, you’re setting yourself up for a beautiful and long-lasting hair colour that will make heads turn.
>> LEARN MORE: How to wash weave?
How To Dye Bundles?
Step 1: Preparing the Hair Bundles for Dyeing
Before we begin dyeing the hair bundles, we must first prepare them. It is crucial to wash the hair thoroughly, especially if it has any styling products. This will ensure that the hair is clean and ready to accept the dye. After washing the hair, gently comb it to remove any tangles or knots. The last step in this process is to allow the hair bundles to dry naturally, rather than using a hairdryer.
Step 2: Mixing the Hair Color For Dyeing
The next step in dyeing the hair bundles is to prepare the hair colour mixture. It is essential to wear gloves to avoid dyeing your hands during this process. Make sure to read the label and instructions carefully before mixing the hair dye and developer. It’s important to note the ratio of the hair dye and the developer before mixing them into a bowl. Follow the instructions indicated on the box to ensure you attain the desired tone. Be cautious when mixing the hair dye and developer, as following the instructions will give you the best results.
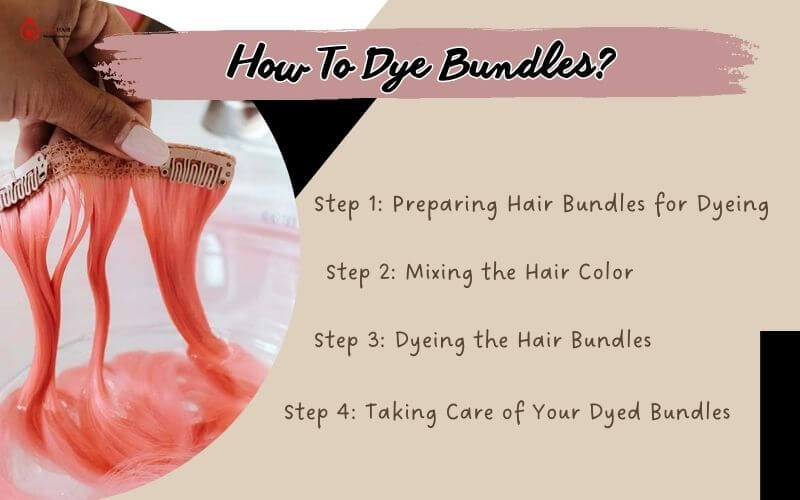
Step 3: Dyeing the Hair Bundles
Once you have prepared the hair colour mixture, it’s time to start dyeing the hair bundles. However, before completely dyeing all the hair bundles, it’s essential to do a quick test. This test will help determine whether the hair dye adversely affects the hair. Usually, the quick test instruction is included in the hair dye box. Mix the hair dye and developer thoroughly, and apply the mixture to the tip of the bundle, leaving it for the instructed time. Rinse the dyed section with shampoo and conditioner, then dry it naturally.
Step 4: Taking Care of Your Dyed Bundles
To keep the dyed bundles healthy and maintain the vibrancy of the colours, proper care is essential. Contrary to popular belief, maintaining dyed bundles is not expensive. You can maintain its beauty by applying a moisturizer regularly, and using a hair mask on your newly dyed bundles. However, be mindful not to over-moisturize as too much may damage the hair bundles. Applying a hair mask weekly or bi-weekly is recommended.
FAQS
How long does it take to dye bundles?
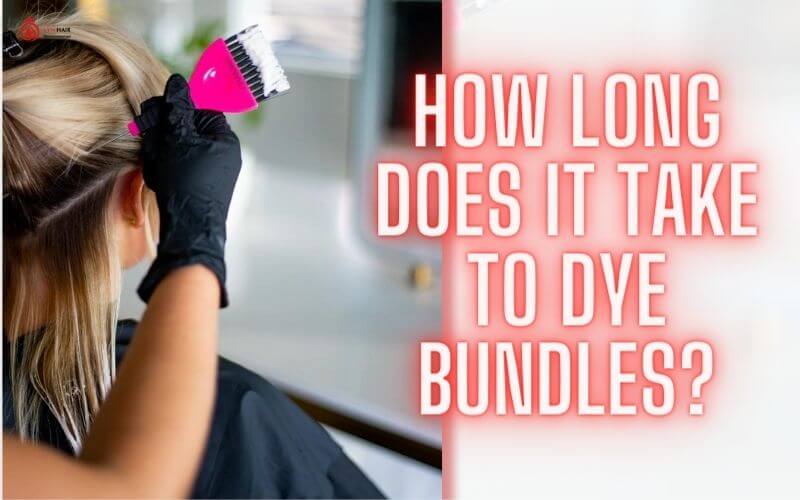
When it comes to hair dyeing, we all want to achieve the perfect shade that best suits our personality and style. It is important to note that dark dyes usually require approximately 25 minutes to fully develop. However, it is crucial to adhere to the instructions provided on the back of the dye box for optimal results.
While the colour is processing, it is advisable to check on the hair every 5 minutes to monitor the shade and ensure it does not go beyond what you desire. Once you have achieved your desired shade, rinse your hair thoroughly with warm water to remove any excess dye. Properly rinsing the hair is key to ensuring the dye adheres perfectly and lasts for as long as possible.
How to dye bundles black?
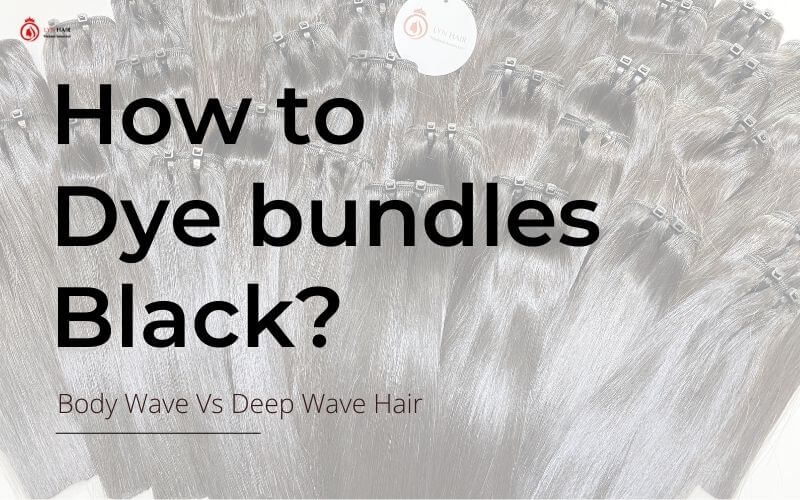
To dye bundles black, start by mixing 2-3 boxes of black hair dye according to the instructions. Wear gloves and cover your workspace to avoid staining. With an applicator brush, apply the dye evenly to each bundle, starting from the bottom up.
Open up the bundle and ensure that every strand is coated with dye. Repeat the same process for all the bundles. To dye the frontal, apply Vaseline to fill in all the holes of the lace to prevent staining.
The dye should be applied to the hair from the length to the roots, gradually working its way up. Lace should not be dyed. Leave the hair to process for 25 minutes. Rinse out each piece of hair thoroughly and apply the colour-safe conditioner included in the hair dye kit.
How to dye 613 bundles?
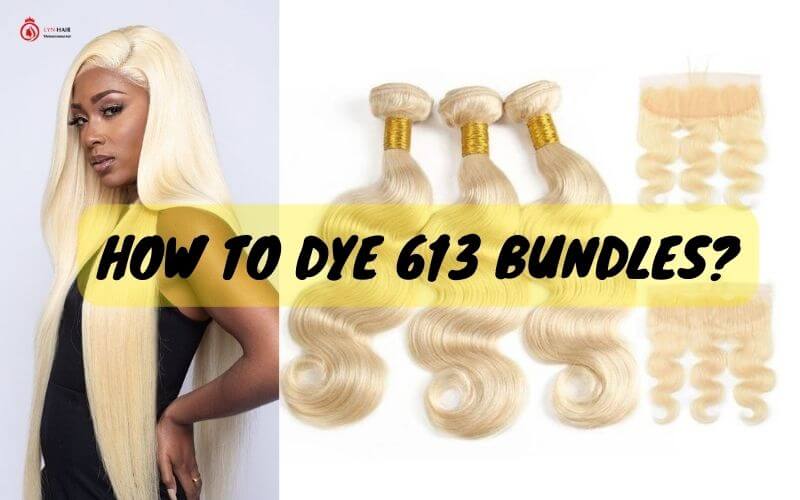
If you’re looking to give your hair a bold new look, dyeing it a striking 613 shade is a great option. Here’s a step-by-step guide to help you achieve the best possible results:
- Prepare the wig by detangling it with a wide-tooth comb and dividing the hair into two sections.
- Bleach the wig by applying a mixture of hair dye and bleach to small sections of hair using a brush, and wrapping each section in foil. Leave the bleach on for 20-30 minutes, checking every few minutes to see if the desired shade has been achieved.
- Wash the wig by rinsing out the bleach under running water, washing with a mild shampoo, and then rinsing again. Apply hair conditioner and let it sit for 10-20 minutes before rinsing it out. Absorb the excess water with a towel, and then let the wig air dry on a wig stand.